Walkthrough 6-6: Set and get variables
In this walkthrough, you create variables associated with an event. You will:
· Use the Set Variable transformer to create a variable.
· Reference a variable in a DataWeave expression.
· Use a variable to dynamically set a response header.
· Use the Mule Debugger to see the value of a variable.
· Track variables across a transport boundary.
Starting file
If you did not complete the previous walkthrough, you can get a starting file here. This file is also located in the solutions folder of the student files ZIP located in the Course Resources.
Add the Set Variable transformer to the Favorites section of the Mule Palette
1. Return to apdev-examples.xml.
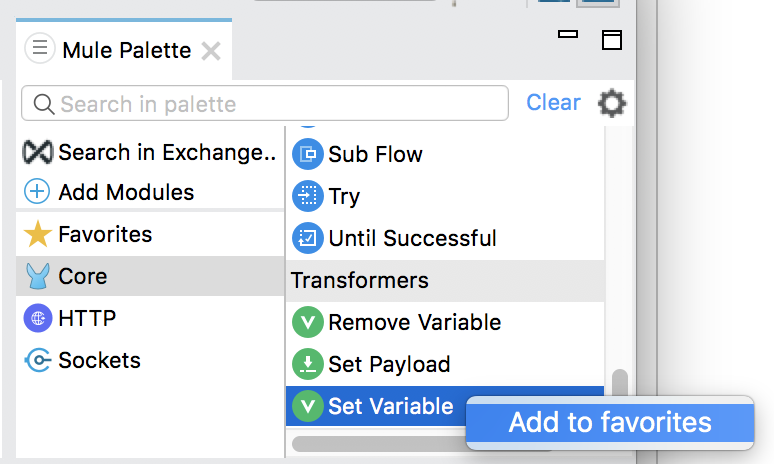
2. In the Mule Palette, select Core.
3. Locate the Set Variable transformer and right-click it and select Add to favorites.
Create a variable
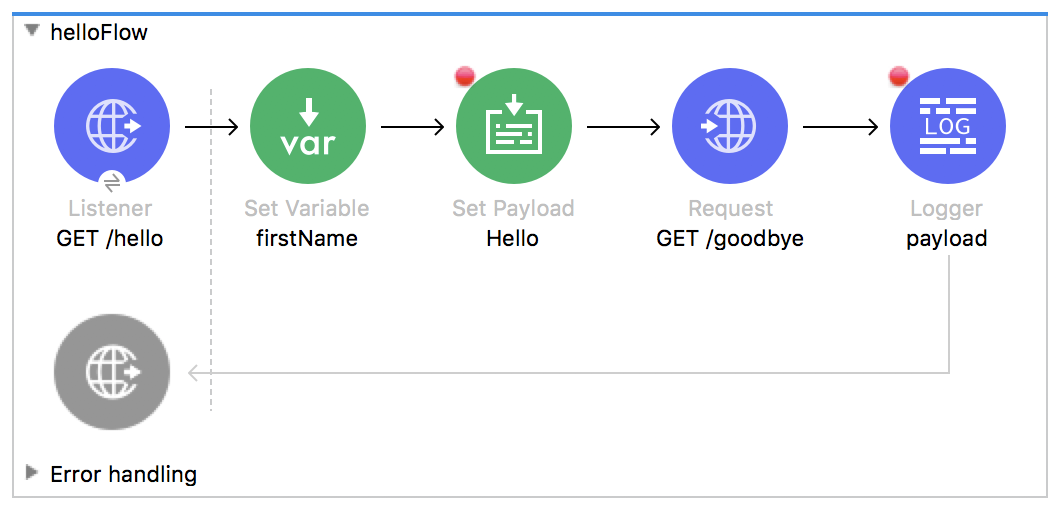
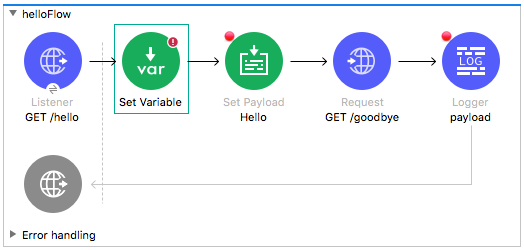
4. Drag the Set Variable transformer from the Favorites section of the Mule Palette and drop it after the GET /hello HTTP Listener in helloFlow.
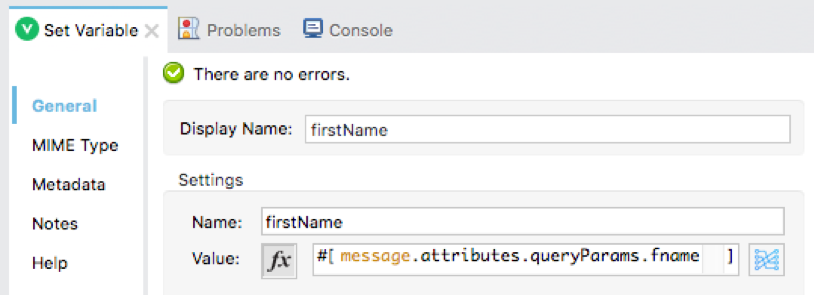
5. In the Set Variable properties view, set the display name and name to firstName.
6. Set the value to your query parameter, fname.
Use an expression that references the variable to set a response header
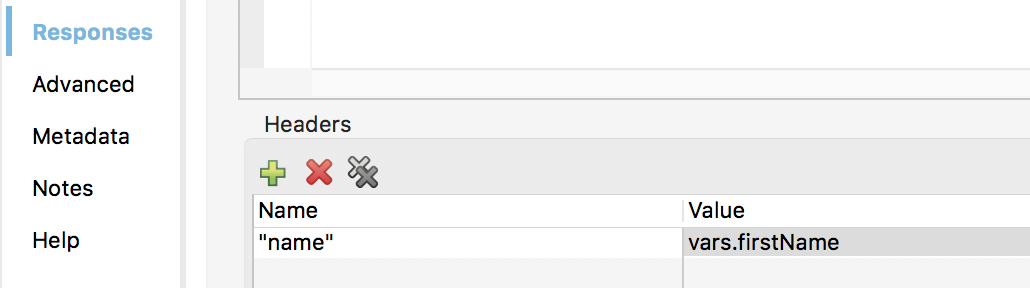
7. Return to the properties view for the GET /hello HTTP Listener in helloFlow.
8. Select the Responses tab.
9. Change the name header value from attributes.queryParams.fname to the value of the firstName variable.
vars.firstName
View variables in the Mule Debugger
10. Save the file to redeploy the project in debug mode.
11. In Advanced REST Client, send the same request.
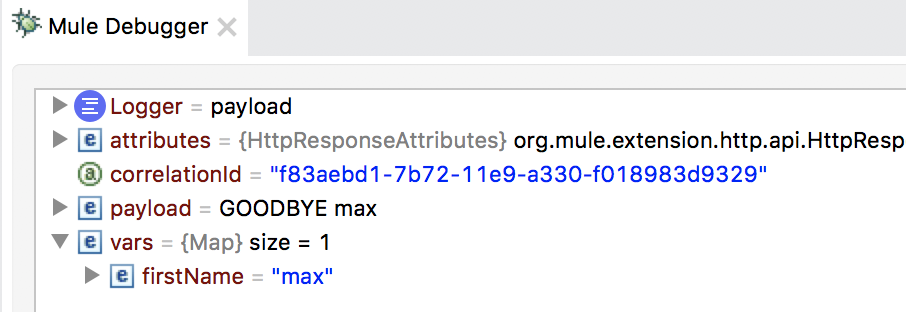
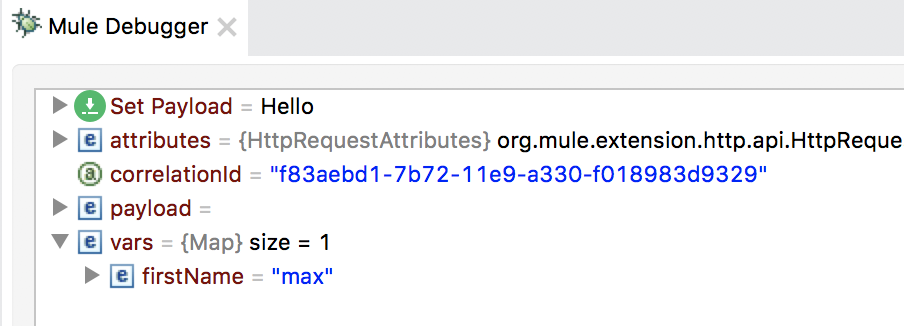
12. In the Mule Debugger, locate and expand the new Variables section; you should see your firstName variable.
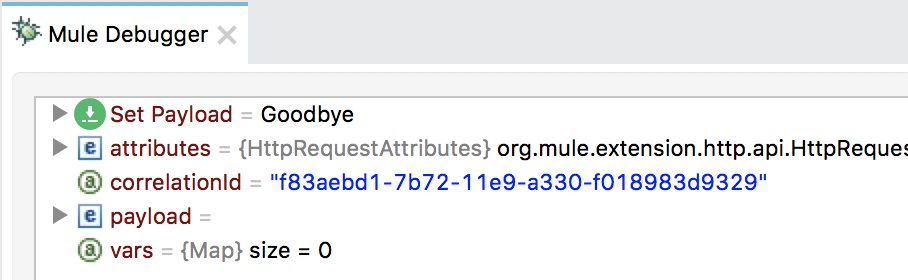
13. Step into goodbyeFlow; you should see no variables in the vars section.
14. Step back to helloFlow; you should see the Variables section again with your firstName variable.
15. Step through the rest of the application.
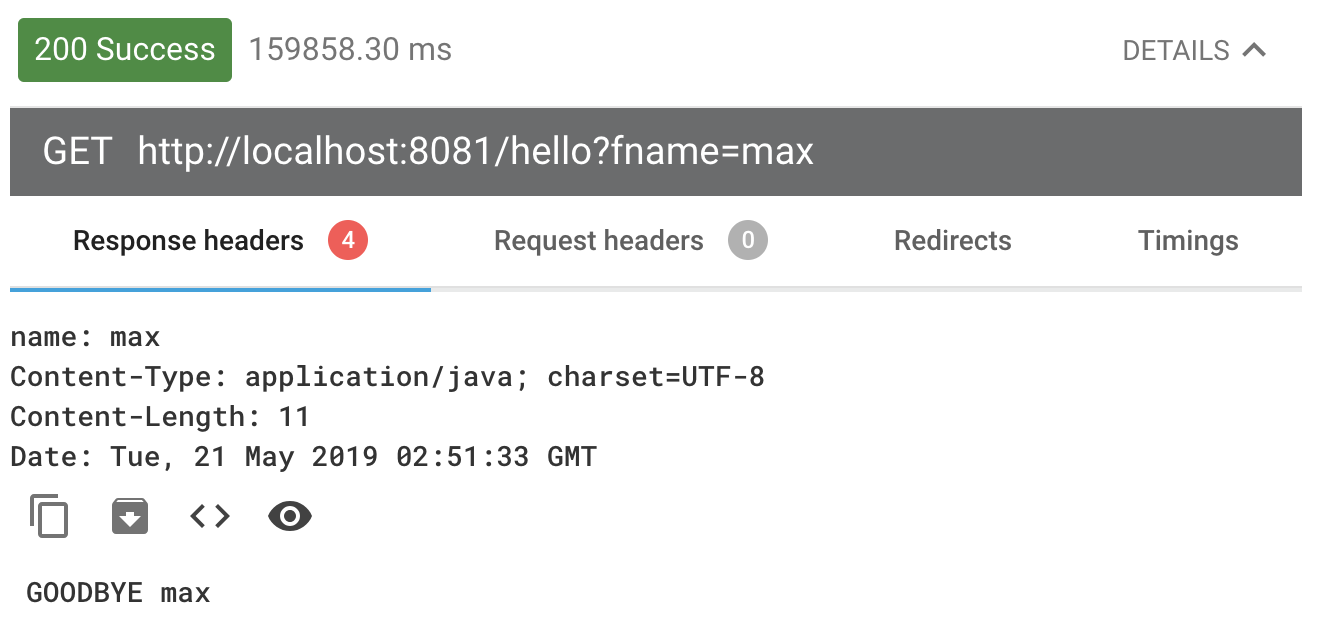
16. Return to Advanced REST Client; you should see the header with the value of the query parameter.
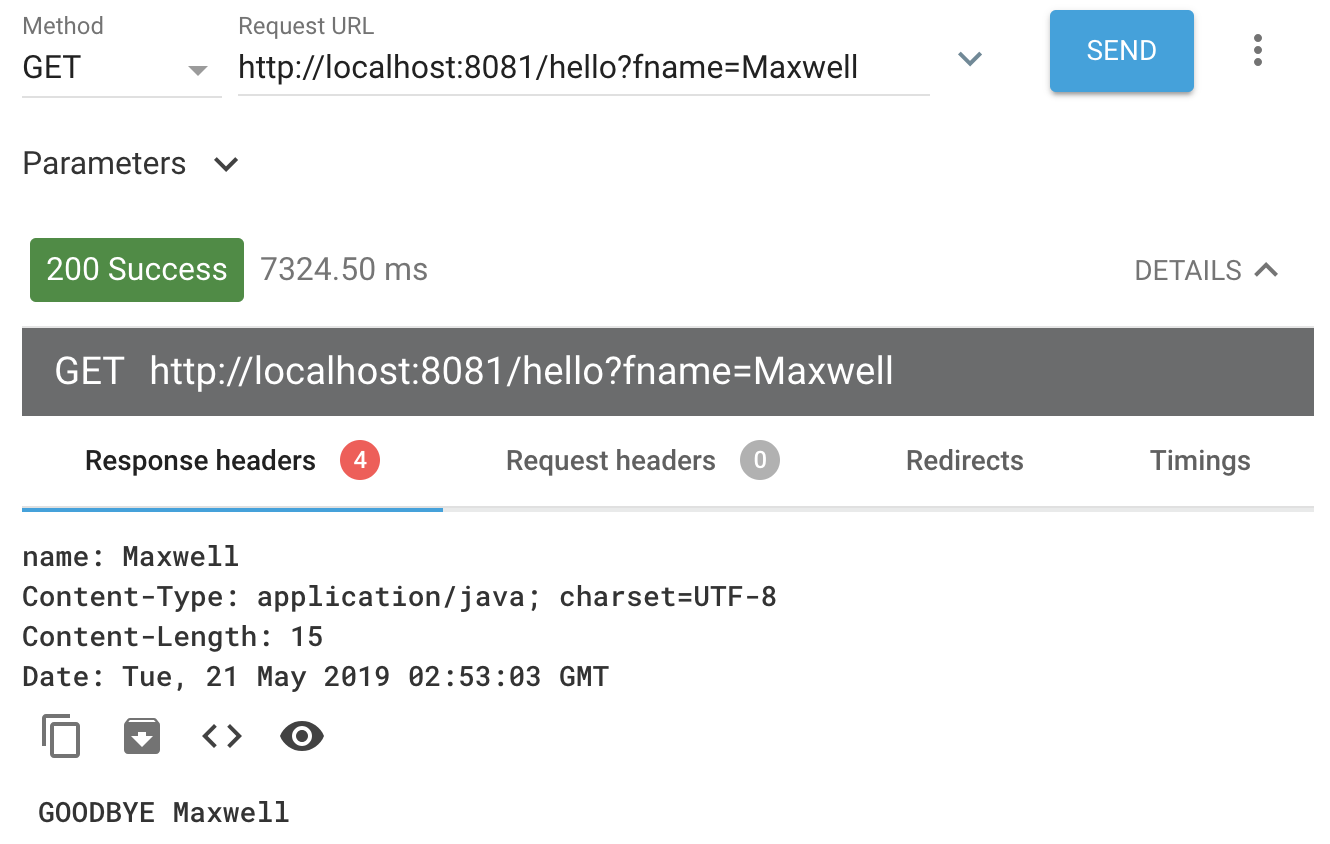
17. Change the value of the query parameter and send another request.
18. In the Mule Debugger, click the Resume button until you step through the application.
19. Return to Advanced REST client; you should see the new query parameter value returned in both the body and the header.
20. Return to Anypoint Studio and switch perspectives.